lorex user manual
Lorex User Manual: Comprehensive Guide (Updated 05/04/2026)
Welcome! This comprehensive guide, updated today – 05/04/2026 – details the LH110 Eco Series DVR, copyright 2012 Lorex Technology Inc., and beyond.
Lorex provides cutting-edge security solutions designed for both residential and commercial applications. Our systems empower you to protect what matters most, offering peace of mind through reliable surveillance. This manual focuses on maximizing your Lorex system’s potential, specifically referencing the LH110 Eco Series DVR, a product initially copyrighted in 2012 but continually updated with advanced features.
We understand the importance of a user-friendly experience. Therefore, this guide breaks down complex processes into manageable steps, ensuring even those new to security systems can confidently set up and operate their Lorex equipment. From initial setup and camera connection to advanced settings and troubleshooting, we’ve covered everything you need to know. Explore the features and benefits of a Lorex security system today!
Understanding Your Lorex DVR/NVR
Your Lorex Digital Video Recorder (DVR) or Network Video Recorder (NVR) is the central hub of your security system. The LH110 Eco Series DVR, a foundational product from Lorex Technology Inc. (copyright 2012), serves as a prime example. It captures, stores, and allows you to review footage from your connected cameras.
DVRs typically work with analog cameras, converting the signal for digital recording, while NVRs handle IP cameras directly over a network. Understanding this distinction is crucial. Key components include hard drive bays for storage, video input/output ports, network connectivity (Ethernet), and USB ports for backups. Familiarize yourself with the rear panel connections to ensure proper camera and network integration. Proper DVR/NVR function is vital for a secure system.
System Components & Identification
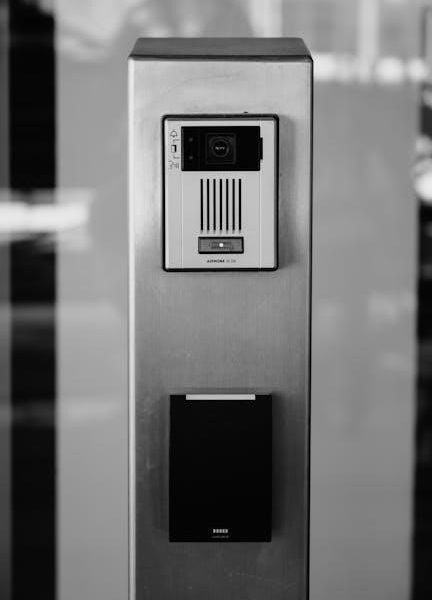
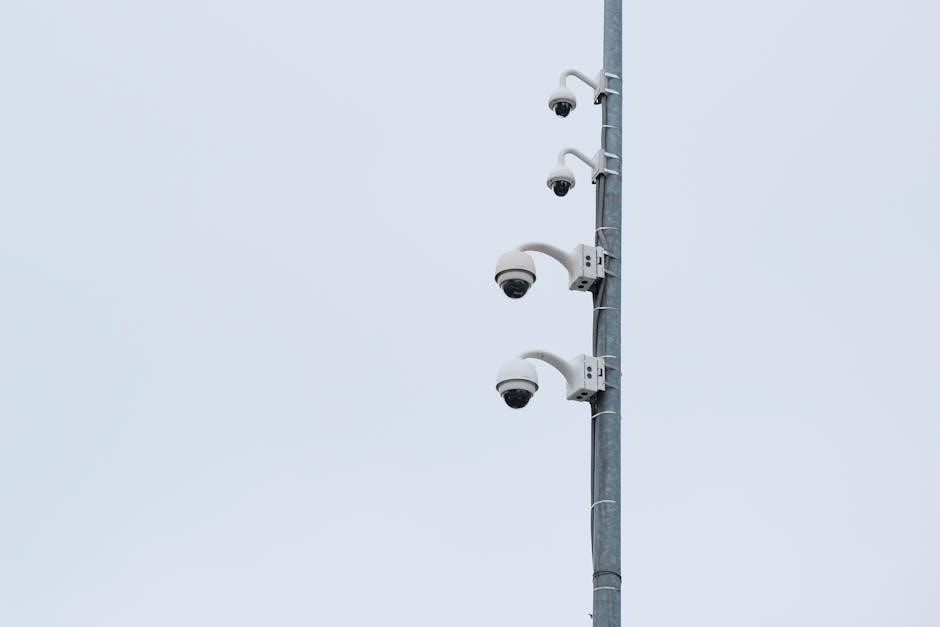
A typical Lorex system, including models like the LH110 Eco Series DVR (copyright 2012, Lorex Technology Inc.), comprises several key components. These include the DVR/NVR itself, security cameras (bullet, dome, or PTZ), power adapters for each device, a network cable (Ethernet), and potentially, a monitor for direct viewing.
Identifying each component is essential for setup. Cameras vary in resolution and features. The DVR/NVR features input ports for camera connections, a hard drive bay, and network ports; Power adapters are specific to each device – do not interchange them. Refer to the included documentation for detailed diagrams and part numbers. Correct identification ensures a smooth installation process and optimal system performance.
Setting Up Your Lorex System
Begin installation by carefully unpacking all components, referencing the Lorex LH110 Eco Series documentation (copyright 2012). Power on and connect!
Initial System Connection & Powering On
Before you begin, ensure all components are present and undamaged. Connect the DVR/NVR to a monitor using an HDMI or VGA cable for initial setup.
Next, plug in the power adapter to the DVR/NVR and a suitable power outlet. The unit should power on automatically. If not, verify the power outlet is functioning correctly.
Allow the system a few moments to boot up. You’ll likely see the Lorex logo and initial configuration screens. Refer to the LH110 Eco Series manual (copyright 2012 Lorex Technology Inc.) for specific on-screen instructions.
Initial setup often includes selecting your language, setting the date and time, and creating a system administrator password. Important: Remember this password!
Connecting Cameras to the DVR/NVR
Camera connection utilizes either BNC cables or Ethernet cables, depending on your system type. For analog cameras, use BNC cables to connect each camera to the corresponding video input port on the DVR. Ensure a secure connection at both ends.
IP cameras connect via Ethernet cables to the NVR’s network ports or a network switch. The NVR will then automatically attempt to discover and register the cameras. Refer to the LH110 Eco Series documentation (copyright 2012 Lorex Technology Inc.) for specific port assignments.
Powering cameras can be achieved through the DVR/NVR using Power over Ethernet (PoE) or via separate power adapters. Verify each camera receives adequate power.
Important: After connecting, access the NVR interface to verify each camera feed is displayed correctly.
Network Configuration (Wired & Wireless)
Connecting to your network is crucial for remote access. For a wired connection, use an Ethernet cable from your DVR/NVR to your router. The system will typically obtain an IP address automatically via DHCP. You can also assign a static IP address through the system menu.
Wireless configuration requires accessing the network settings within the DVR/NVR interface; Select your Wi-Fi network from the available list and enter the password. Ensure a strong signal for reliable performance.
Refer to lorextechnology.com and the LH110 Eco Series manual (copyright 2012) for detailed instructions; Verify network connectivity by pinging your router from the DVR/NVR.

Navigating the Lorex Interface
Explore the intuitive Lorex interface for seamless control. Access live views, recording schedules, and advanced settings with ease, enhancing your security experience.
Main Menu Overview
The Main Menu is your central hub for controlling all aspects of your Lorex security system. Upon accessing it, you’ll find clearly labeled options designed for straightforward navigation. Key sections include Live View, providing immediate access to camera feeds, and Recording, where you manage schedules and recording modes.
System Settings allow customization of features like user access, motion detection, and email alerts; Playback enables reviewing recorded footage, while Network handles connectivity configurations. The Information section displays system details, firmware versions, and storage information.
Familiarize yourself with each section to unlock the full potential of your Lorex DVR/NVR. A well-understood menu structure ensures efficient system management and optimal security performance.
Live View & Camera Selection
Accessing Live View provides a real-time display of your connected security cameras. From the Main Menu, select “Live View” to instantly view all active camera feeds. The interface typically presents cameras in a grid layout, allowing simultaneous monitoring.
Camera Selection is straightforward: simply click on an individual camera within the grid to expand its view to full screen. Many systems support customizable layouts, letting you arrange cameras based on your preferences.
PTZ (Pan-Tilt-Zoom) controls, if applicable, appear when a PTZ camera is selected, enabling remote adjustment of the camera’s viewing angle. Ensure optimal camera positioning for comprehensive surveillance.
Recording Schedules & Modes
Customizing Recording Schedules allows you to define when your Lorex system records footage. Access the “Recording Schedule” section within the Main Menu. You can set specific time slots for each day of the week, tailoring recording to your needs.
Recording Modes offer flexibility. Continuous Recording captures footage 24/7, while Scheduled Recording only records during designated times. Motion Detection Recording activates recording only when movement is detected, saving storage space.
Prioritize modes based on your security requirements. Combine schedules and modes for optimal coverage. Regularly review and adjust settings to ensure effective surveillance.
Recording & Playback Features
Explore robust features for managing recorded footage. Utilize manual recording, scheduled options, and intuitive playback controls to review critical events efficiently.
Manual Recording Options
Initiating a manual recording provides immediate control over capturing footage, bypassing scheduled settings. This is ideal for events unfolding in real-time that require focused documentation. To begin, navigate to the Live View, select the desired camera, and activate the ‘Record’ function – typically represented by a red circle icon.
Recordings initiated manually are saved directly to the hard drive, alongside scheduled recordings. You can halt a manual recording at any time by pressing the ‘Stop’ button. Consider manual recording for situations like package deliveries, unexpected visitors, or any activity you wish to preserve outside of your pre-defined recording schedule. Remember to review these recordings regularly for important details.
The duration of a manual recording is limited only by available hard drive space. Prioritize manual recordings for crucial events to ensure sufficient storage.
Scheduled Recording Configuration
Setting up scheduled recordings ensures continuous surveillance during specified times. Access the ‘Recording Schedule’ menu within your Lorex DVR/NVR interface. Here, you can create customized schedules for each camera, defining start and end times, and days of the week for recording.
Choose from various recording modes: Continuous, Motion Detection, or Alarm Input. Continuous records 24/7, while Motion Detection only records when movement is detected, conserving storage. Alarm Input triggers recording upon external alarm activation.
Carefully consider your needs when configuring schedules. Overlapping schedules or excessive continuous recording can quickly fill your hard drive. Regularly review and adjust schedules to optimize performance and storage capacity.
Playback Controls & Searching Footage
Accessing recorded footage is straightforward via the Lorex DVR/NVR interface. Navigate to the ‘Playback’ section and select the camera and date for review. Utilize the timeline to pinpoint specific events. Standard playback controls – play, pause, fast forward, rewind – are available for precise viewing.
Efficiently locate footage using the search function. Search by date and time, or, if motion detection is enabled, by motion events. Some systems allow event filtering, such as searching specifically for recordings triggered by alarm inputs.
Export important clips via USB drive for offsite backup. Remember to properly label exported files for easy identification and future reference.
Advanced System Settings
Customize your Lorex system with granular control over user access, motion detection zones, and alert preferences for optimal security and personalized monitoring.
User Management & Access Levels
Secure your Lorex system by creating multiple user accounts with varying levels of access. The administrator account holds complete control, enabling full system configuration and user management capabilities.
You can establish standard user accounts with restricted permissions, limiting their access to live viewing, playback, and basic settings. This prevents unauthorized changes to critical system configurations.
Assign specific camera access to individual users, ensuring privacy and focused monitoring. Password protection is crucial; enforce strong, unique passwords for each account. Regularly review user accounts and permissions to maintain optimal security. Lorex prioritizes data protection through robust user management features.
Motion Detection Settings & Sensitivity
Customize motion detection to suit your specific needs and environment. Lorex systems allow granular control over sensitivity levels, minimizing false alarms triggered by irrelevant movements like trees or animals.
Define specific motion detection zones within the camera’s field of view, focusing alerts on critical areas. Adjust the sensitivity slider to fine-tune responsiveness; higher sensitivity detects even minor motion, while lower settings require more significant movement.
Experiment with different settings to find the optimal balance between detection accuracy and minimizing unwanted notifications. Schedule motion detection to activate only during specific times, enhancing efficiency and reducing storage usage;
Email Alerts & Push Notifications
Stay informed with instant alerts delivered directly to your inbox or mobile device. Lorex systems offer robust email and push notification capabilities, ensuring you’re always aware of potential security events. Configure alerts to trigger upon motion detection, ensuring prompt notification of activity.
Customize notification preferences to specify which cameras trigger alerts and the frequency of notifications. Verify your email address and enable push notifications within the Lorex app for seamless delivery.
Ensure your system’s network connection is stable for reliable alert delivery. Regularly check your spam folder for email alerts and adjust app permissions to allow push notifications.
Troubleshooting Common Issues
Facing problems? This section provides solutions for typical issues like no display, network connectivity, and remote access difficulties with your Lorex system.
No Picture/Video Display
Experiencing a blank screen? Several factors can cause a lack of picture or video on your Lorex system. First, verify all cable connections – ensure the power adapter is securely plugged into both the DVR/NVR and a working outlet.
Check the monitor connection (HDMI or VGA) to confirm it’s firmly attached to both the DVR/NVR and the display. Confirm the monitor is powered on and set to the correct input source.
Inspect camera connections; loose BNC or Ethernet cables can disrupt the signal. Test cameras individually by connecting them directly to the DVR/NVR. If the issue persists, consult the DVR/NVR’s user interface to verify camera status and settings. A reboot of the system may also resolve temporary glitches.
Network Connectivity Problems
Facing network issues with your Lorex system? Begin by verifying your network connection – ensure your router is powered on and functioning correctly, with active internet access. Check the Ethernet cable connecting the DVR/NVR to the router; a damaged cable can interrupt connectivity.
Confirm the DVR/NVR’s IP address is correctly configured and doesn’t conflict with other devices on your network. Access the network settings through the DVR/NVR’s interface to review and adjust these parameters.
For wireless connections, double-check the Wi-Fi password and signal strength. Restarting both the DVR/NVR and the router can often resolve temporary network glitches. If problems persist, consult your router’s documentation or contact your internet service provider.
Remote Access Issues (Mobile App & Web)
Experiencing difficulties accessing your Lorex system remotely? First, verify your DVR/NVR is online and connected to the network, as detailed in the Network Connectivity section. Ensure the Lorex app is updated to the latest version for optimal compatibility and bug fixes.
Double-check your login credentials – username and password – are correct. Confirm port forwarding is correctly configured on your router, allowing external access to the DVR/NVR. Refer to Lorex’s online support resources for specific port forwarding instructions.
If using DDNS, verify your DDNS address is correctly updated and resolving to your current public IP address. Restarting the app or web browser can sometimes resolve temporary connection issues.
Lorex Mobile App Guide
Unlock remote viewing! This section guides you through downloading, installing, and utilizing the Lorex mobile app for convenient system control and access.
Downloading & Installing the Lorex App
Getting Started with the App: To begin remote access and control of your Lorex security system, you’ll first need to download and install the official Lorex mobile application. This app is readily available for both iOS (Apple) and Android devices.
For iOS Users: Open the App Store on your iPhone or iPad and search for “Lorex.” Locate the Lorex app developed by Lorex Technology Inc. and tap “Get” to initiate the download and installation process. You may be prompted to enter your Apple ID password or use Face/Touch ID.
For Android Users: Open the Google Play Store on your Android smartphone or tablet. Search for “Lorex” and select the Lorex app by Lorex Technology Inc. Tap “Install” to download and install the application. Accept any required permissions during the installation.
Once the installation is complete, you’ll find the Lorex app icon on your device’s home screen. Tap the icon to launch the app and begin the device setup process.
Adding Devices to the Lorex App
Device Connection Process: After successfully installing the Lorex app, the next step is to add your Lorex DVR/NVR and cameras to the application for remote access. Ensure your system is powered on and connected to the network before proceeding.
Adding Your System: Launch the Lorex app and create an account or log in if you already have one. Tap the “+” icon or the “Add Device” option within the app. The app will guide you through the device discovery process, which may involve scanning a QR code located on your DVR/NVR or manually entering the device’s serial number.
Follow On-Screen Instructions: Carefully follow the on-screen prompts to complete the device addition. You may be asked to set a device name and configure network settings. Once added, your cameras will appear within the app, allowing for live viewing and remote control.
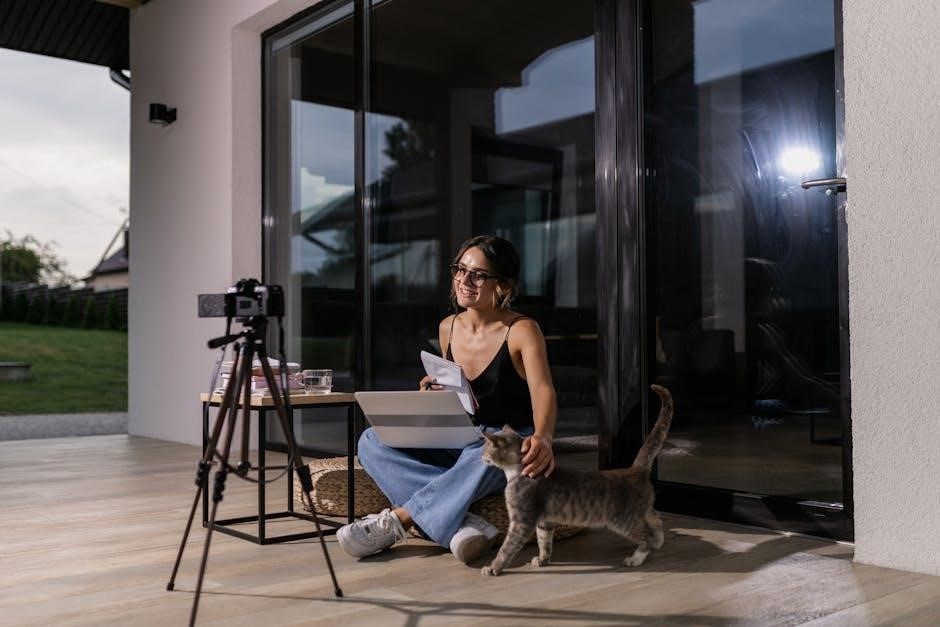
Remote Viewing & Control via the App
Accessing Live Feeds: Once your Lorex devices are added to the app, you can instantly access live video feeds from any connected camera. Simply tap on the camera’s thumbnail to initiate the live view. Enjoy clear, real-time monitoring of your property from anywhere with an internet connection.
Playback & Recording Access: The Lorex app also provides access to recorded footage stored on your DVR/NVR. Browse recordings by date and time, and utilize the playback controls to review events. Download important clips directly to your mobile device for safekeeping.
Pan, Tilt & Zoom (PTZ) Control: For cameras with PTZ capabilities, the app allows remote control of the camera’s pan, tilt, and zoom functions, providing a wider field of view and enhanced surveillance control.
System Maintenance & Updates
Keep your Lorex system optimal! Regularly check for firmware updates, manage hard drive space efficiently, and gently clean your equipment for longevity.
Firmware Updates & How to Apply Them
Maintaining up-to-date firmware is crucial for optimal system performance, security enhancements, and compatibility with new features. Lorex regularly releases firmware updates to address potential vulnerabilities and improve overall functionality. To check for updates, navigate to the ‘System’ or ‘Maintenance’ section within your DVR/NVR’s interface.
Typically, the system will automatically check for available updates upon accessing this section. If an update is found, carefully follow the on-screen prompts. Important: Do not interrupt the update process! Power loss during a firmware update can render your system unusable.
The update process may take several minutes. Once completed, the system will usually reboot automatically. After rebooting, verify the new firmware version in the ‘System Information’ menu. Regularly checking for updates ensures your Lorex system remains secure and performs at its best.
Hard Drive Management & Capacity
Proper hard drive management is essential for maximizing your Lorex system’s recording capacity and ensuring reliable performance. Your DVR/NVR’s interface provides tools to monitor hard drive health, available space, and recording status. Regularly check the hard drive’s S.M.A.R.T. status for potential failures – early detection can prevent data loss.
Recording capacity depends on several factors: resolution, frame rate, recording mode (continuous, motion-activated), and the hard drive’s size. Higher resolutions and frame rates consume more storage space. Utilize the system’s configuration options to adjust these settings to balance recording quality and storage duration.
Consider periodically backing up critical footage to an external storage device. Formatting the hard drive will erase all data, so back up important recordings beforehand.
Cleaning & Care of Your Lorex Equipment
Maintaining your Lorex system ensures optimal performance and longevity. Regularly clean camera lenses with a soft, microfiber cloth to remove dust and debris, avoiding harsh chemicals or abrasive materials. For the DVR/NVR unit, use a slightly damp cloth to wipe down the exterior – never spray liquids directly onto the device.
Ensure adequate ventilation around the DVR/NVR to prevent overheating. Avoid placing it in enclosed spaces or direct sunlight. Periodically check cable connections for tightness and damage. Protect cables from extreme temperatures and physical stress.
Proper care extends the lifespan of your investment. Avoid exposing cameras to excessive moisture or corrosive environments.
Leave a Reply
You must be logged in to post a comment.